Lightbaking
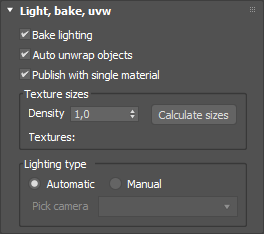
The script can publish to Sketchfab with or without lightbaking. You can enable or disable lightbaking in the Light, bake, uvw rollout. If you disable the Bake lighting option, all other bake options will be disabled. If you enable lightbaking, other options become available.
The script handles a few tasks for you, besides the lightbaking. It can unwrap the model, determine how big the lightbaked textures should be and set up lighting.
Scanline, Mental Ray, Corona and V-Ray (also Vray Next) are supported for lightbaking. The script uses the rendersettings of the current scene. You can make the baked textures as smooth or as grainy as you like by adjusting the rendersettings yourself.
The lighting options
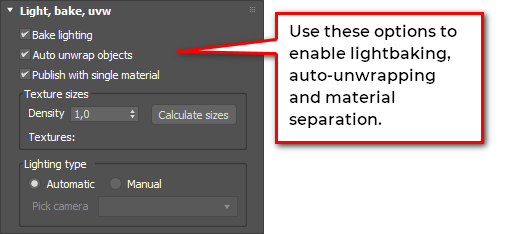
Switching the bake on or off
Materials
The script exports your scene to an fbx file and uploads it to Sketchfab. In that process all materials are converted to standard materials. That’s how the fbx exporter works in 3dsMax. There’s no intelligent material conversion going on where vray or physical materials are interpreted and individual settings are translated intelligently.
When you enable lightbaking, all material settings are captured in a single, baked texture. This is a rather crude but effective method. There are now two options to apply this texture to your model by using the Publish with single material option.
- Enable
Publish with single material(default setting): applies a single material to the uploaded model and uses the baked texture. This is how the exporter has always worked. The result is a single material in the sketchfab model which is easy to manage but if you want to tweak a single material you’re out of luck. - Disable
Publish with single material: still renders a single texture but keeps the original number of materials. This means that in the Sketchfab editor you can modify the individual materials of your scene: adjust opacity, metalness, roughness and so on.
UV coordinates
When baking, the script adds a new UV channel to put the baked texture in. The original UV channels are retained. This means you can use multiple UV channels in your model with Sketchfab.
In this example you can see a model with a hand painted texture and an automatically baked texture. Both UV channels can be used and are retained in the Sketchfab model.
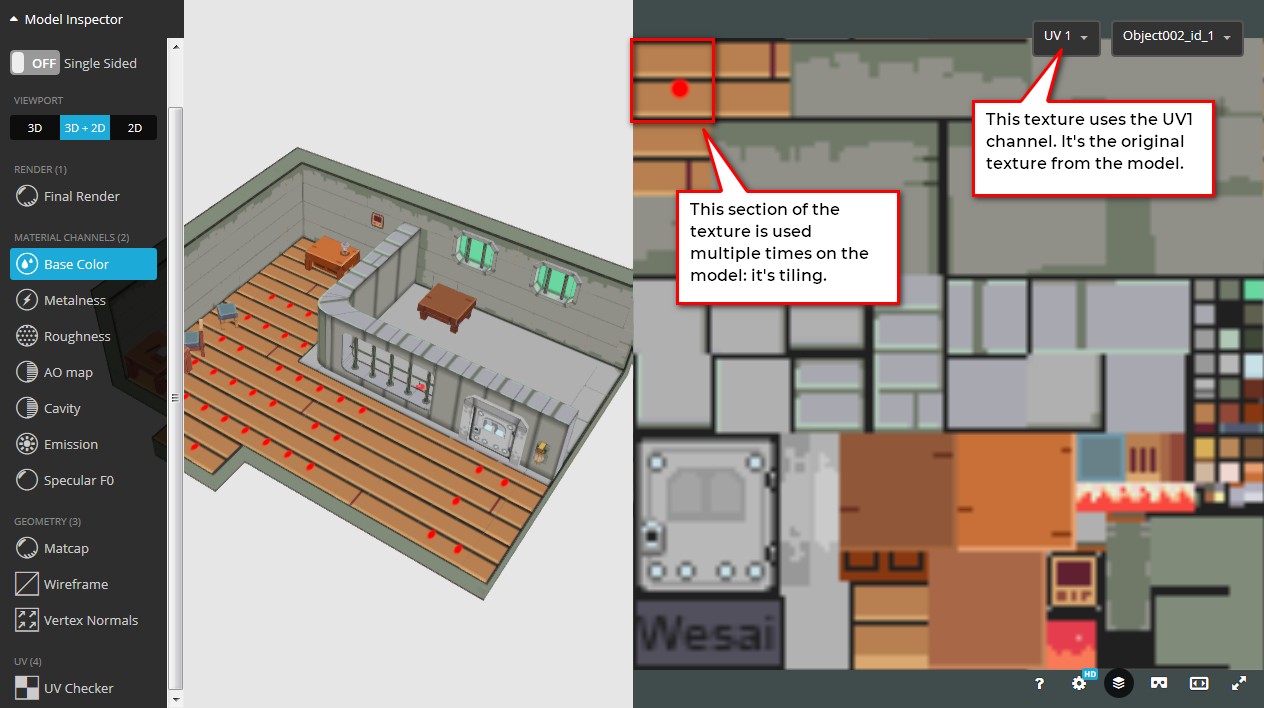
The hand painted texture
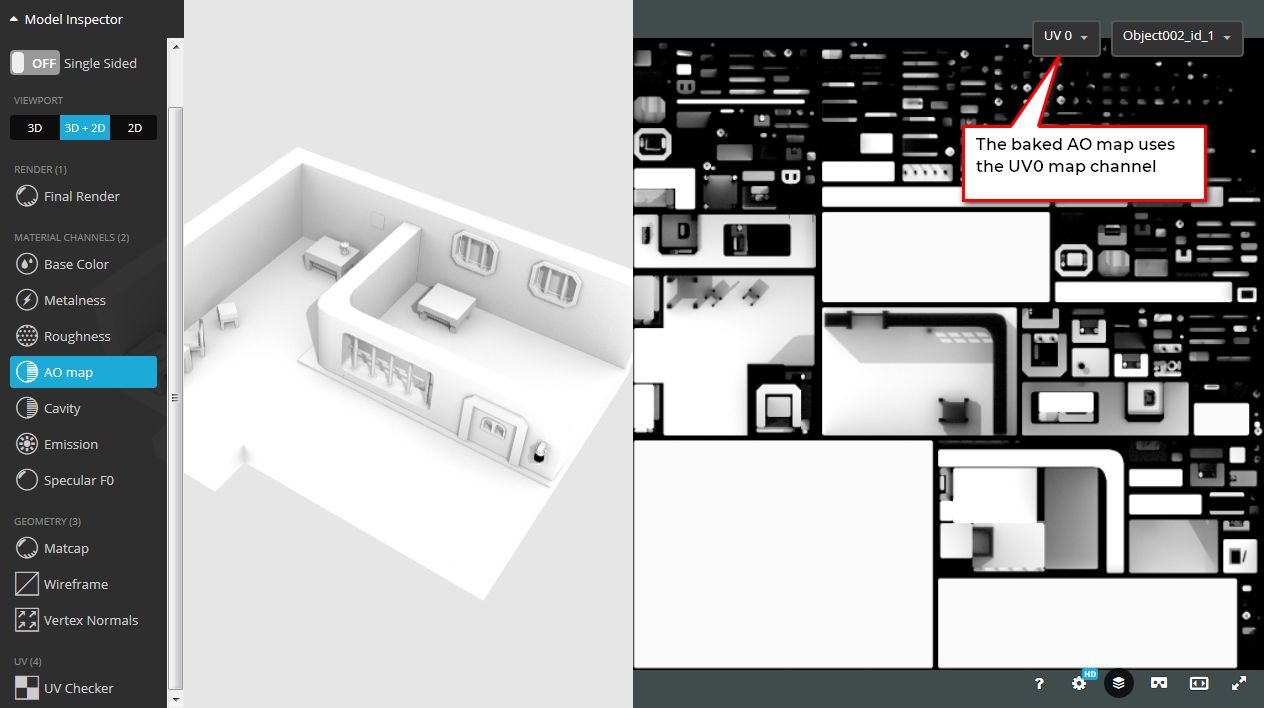
The automatically baked texture
Use the model inspector to check out the UV channels and separate textures. The original model is by Wesai: https://skfb.ly/6vyxt
Since we can now use multiple UV channels, it becomes easier to separate the lightmap from the color map. If you want to change the colormap after you’ve baked your lighting, you don’t have to rebake everything anymore. This is a very flexible way of working. Check out this video to see how to do that.
Texturesize
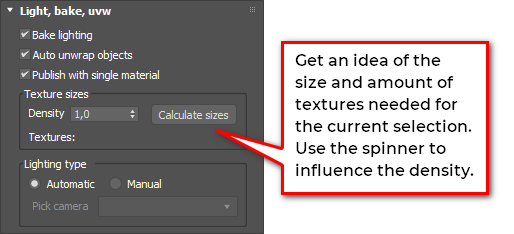
The lightbaker has to determine the size of the rendered textures. It looks at the surface area of your model related to the surface area of the bounding box of your model. It also uses a maximum size per texture file of 2048 x 2048 pixels. Finally, you can influence the final sizes by adjusting a “Density” value. This value multiplies the calculated texture pixel per surface area ratio. Leave it at 1.0 to go with the default.
The results of the calculation differs between using the auto-unwrap and manual unwrap option. When using the auto-unwrap, the model is merged into one object and sliced into chunks which fill the textures optimally (as far as automatic unwrapping in 3dsMax goes). In that case the script tries to fill a texture of 2k. If it’s full, it starts with a new texture until all geometry has found it’s place.
If you skip the automatic unwrap and provide your own uvw coordinates, the meshes are not touched. In that case, the texture size of each object is calculated based on the surface area with a maximum of 2k per texture. If you have ten objects, you’ll get ten textures with appropriate sizes.
You can get a feel for the amount of textures being rendered by selecting your objects and pressing the “Calculate sizes” button. It will either show you how many textures or how many megapixels will be rendered, depending on the picked unwrap option.
Notes
- Currently there’s no limit on the amount of allowed textures. If you set the density value too high, you might cause the script to crash trying to render too many texture. Keep in mind that the textures actually need to be rendered on your own computer.
- There’s a limit of 2k per texture. When using the auto-unwrap large objects are split into multiple chunks. Each chunk gets it’s own texture. When using your own uvw coordinates however, the meshes aren’t touched. A large object which needs a larger texture to keep the specified pixel density might be capped at 2k. If you want a more even texel distribution, you can split the mesh yourself into separate chunks.
- When using your own uvw coordinates, make sure that there are no overlaps in your unwrap. Overlaps in the unwrap result in artefacts in the lightbake.
- When using your own uvw coordinates, make sure to split your object if it has multiple material ID’s.
Setting the amount of pixels to be rendered
Lighting
To bake textures, you need light. You can use the automatic lighting which ships with the script. This is a smooth, omnidirectional lighting setup. You can also use your own lighting. Set the Lighting type option to Manual for that. In that case the script will use the lighting which is present in the scene. If you have multiple cameras with different exposure values, pick the camera you want to use for the bake.
All exposure values including color balance are taken into account when using a vray camera with exposure enabled.
Notes
- Objects which have been mirrored or have any kind of negative scaling will turn out black. Perform a reset xform on the object and make sure the normals in the object aren’t flipped.
- When using the vray frame buffer you can enable a gamma color correction inside of this framebuffer. This property is not taken into account when baking and uploading a model. If you want to have reliable gamma results, use the default rendered frame window and set your gamma settings in the 3ds Max preferences.

Two lighting types available
Changes to the model
When texturebaking with Auto unwrap objects enabled, the script edits your model. Don’t worry, this is done in a copy of the scene.